Preschool Dance Party!

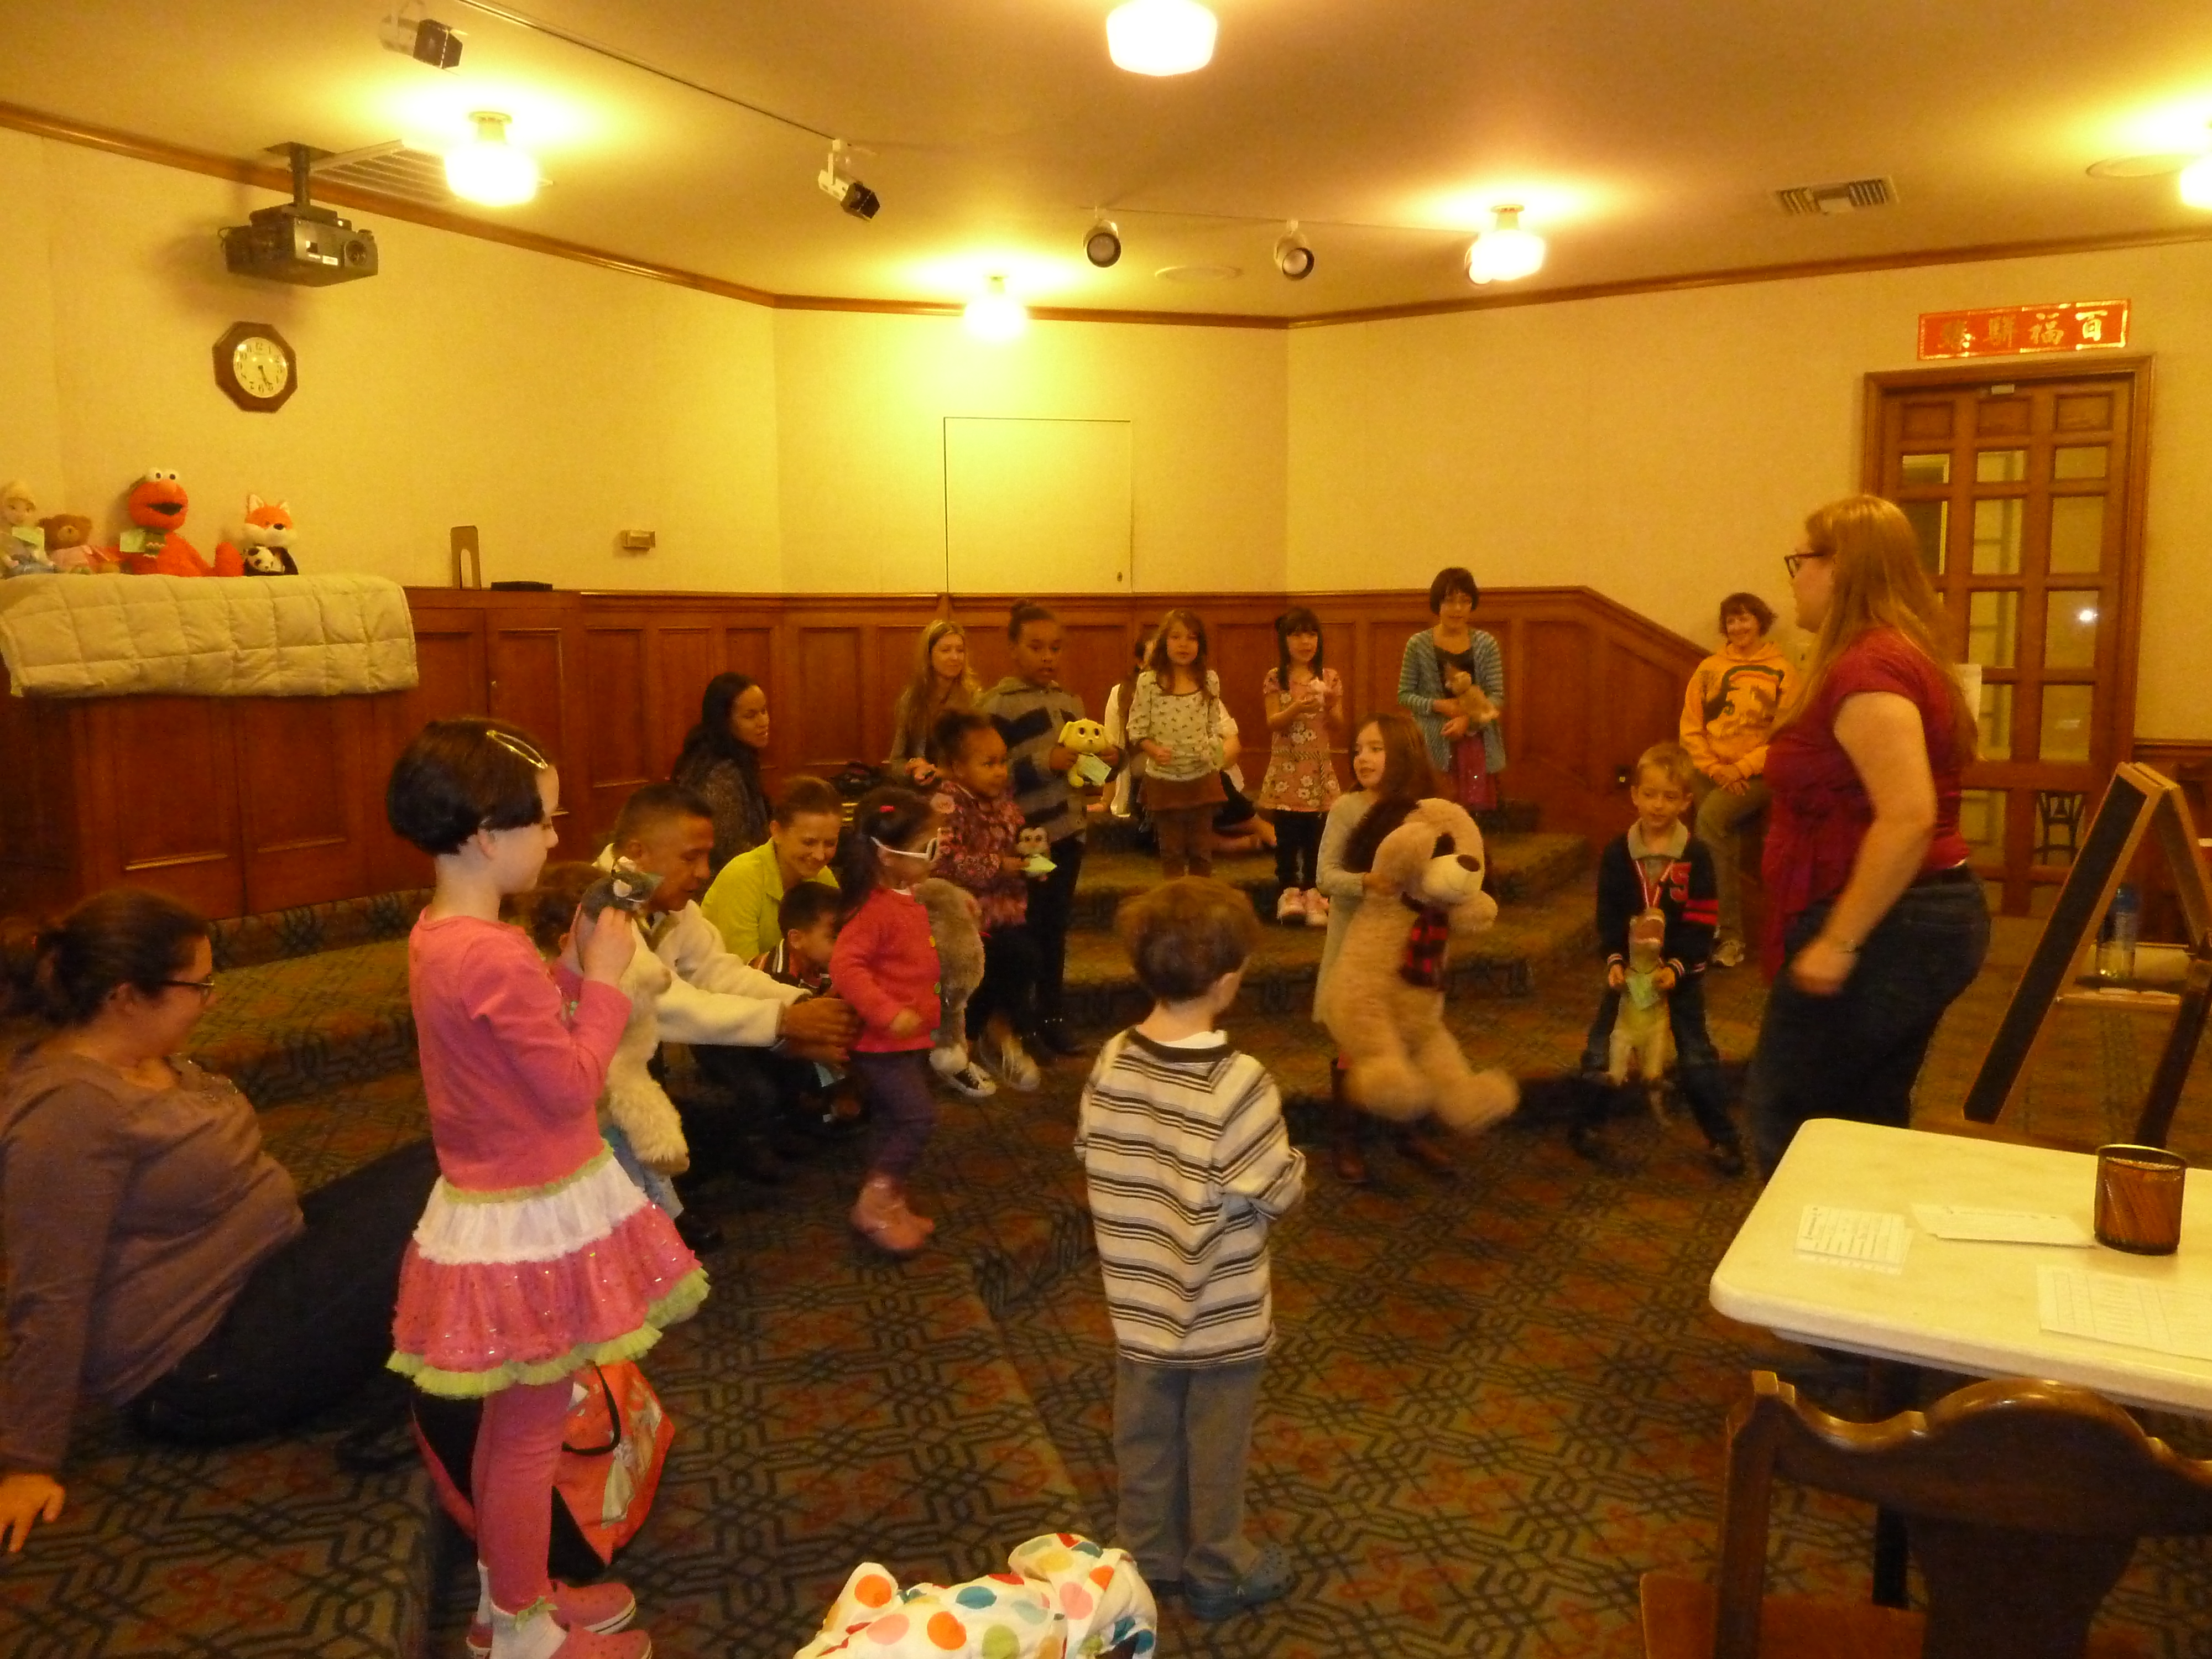
On Friday February 20th I hosted my first dance party here at the library!  I’m currently working on a grant to bring more play into the library, had heard about many libraries offering one, and thought it would be a perfect way to play and move.  After being inspired by some fabulous blog posts from Storytiming, Jbrary, The Show Me Librarian, Storytime with Miss Sara, Thrive After Three, Catch the Possibilities, and Fat Girl Reading I finally felt confident enough to make the dance party happen!

THE PLAYLIST

JimGillDoReMi
1) “The Tempo Marches On” by Jim Gill from Jim Gill Sings Do Re Mi On His Toe Leg Knee 
I wasn’t sure how quickly parents and kids would start dancing, or how comfortable people would feel at first, so I picked this one first because I thought it was an easy movement song that was easy enough for everyone to participate.  You are practically running at the end of the song, so be prepared!

Chocolate Milk and Other Tasty Tunes
2) “Whatever Dance” by Dana McCarthy from Chocolate Milk and Other Tasty Tunes
I feel like this one was sort of the mission statement for my dance party: “Whatever dance you want to do, it’s good for me if it’s good for you.”

Caspar Babypants I Found You
3) “All The Fish” by Caspar Babypants from I Found You!
Caspar Babypants is one of my favorite children’s bands, so I was happy when I saw this title highlighted on Jbrary‘s blog.  As suggested, we pretended to be all the different animals mentioned in the song and swim like they would swim.  Perfect song for breaking our your swim moves.

Yo Gabba Gabba Music is Awesome
4) “Robo Dancing” by Money Mark from Yo Gabba Gabba! Music is Awesome!
I thought it would be fun (and funny) to have all the kids show me their best robot moves.

Brother Yusef Kids Get the Blues Too
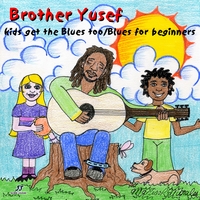
5) “Shake It” by Brother Yusef from Kids Get the Blues Too/Blues for Beginners
Time to break out the shakers!  For each prop I used I wanted to find a song that would just allow the kids to dance freely with it, and then one that they could follow instructions to.  This one was the free dance for the shakers.  Brother Yusef has visited our library many times and he never fails to get toes tapping and shoulders shimmying.

Kathy Reid-Naiman Reach for the Stars
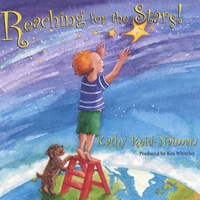
6) “Shake It To the East” by Kathy Reid-Naiman from Reaching for the Stars!
This was the song we used to follow instructions with the shakers.    Especially fun was the little pause part in the middle where everyone stops shaking.

Imagination Movers Juice Box Heroes
7) “Shakable You” by Imagination Movers from Juice Box Heroes
Moving from shaking the shakers to shaking your body!

The Muppets the Green Album
8) “Mahna Mahna” by The Frey from Muppets: The Green Album
At this point in the program I was tired, so I decided we needed to have a sit down.  We all sat in a circle and danced only with our arms for this song.

Josh Levine for Kids
9) “The Hokey Pokey” by Josh Levine from Josh Levine for Kids
We stood up from our circle and then Hokey Pokey-ed!

Carole Peterson Dancing Feet
10) “Dancing Scarf Blues” by Carole Peterson from Dancing Feet.
Time to bring out the scarves!  We started with the instructional song first this time.

Laurie Berkner Buzz Buzz
11) “Bumblebee (Buzz Buzz)” by Laurie Berkner from Buzz Buzz
And now just dancing freely, with scarves going wild when the bumblebee buzzes.

William Janiak Arms Up Keep Moving
12) “Arms Up!” by William C. Janiak from Arms Up Keep Moving
Another guided movement song.  I wasn’t so sure about this one, but Fat Girl Reading mentioned that it was a great track so I thought I would try it out.  Of course, total success.

Bari Koral Rock and Roll Garden
13) “Clap It” by Bari Koral Family Rock Band from Rock and Roll Garden
While I’m not exactly sure how to clap my toes, this was a fun one to move along to.

Pharrell GIRL
14) “Happy (From Despicable Me 2)” by Pharrell Williams from G I R L
I’d heard that this one was always a hit in family dance parties as well.  Yup, it is.

Joanie Leeds I'm a Rock Star
15) “Goodbye, Goodbye” by Joanie Leeds and the Nightlights from I’m a Rock Star
A nice song to end things with.

ATTENDANCE: 40 people

HOW IT WENT AND WHAT I LEARNED:

This was a super fun program, but a TIRING one.  I counted this as my workout for the day.  Make sure to wear clothes and shoes that are comfortable to move in.  I am glad I held my dance party close to the end of the day.  If I do a future one early in the day, I may consider bringing an extra change of clothes, just in case.

I wasn’t sure how many people would attend the program and I was waffling regarding where I should hold the dance party.  Our storytime room would have been great, because it has a door that closes so that the sound can be contained.  But, it has large, broad step areas that make the space more like an amphitheater, and I knew we would need plenty of space to move around.  My library recently opened a studio space which is a large open area on our 4th floor.  It has no doors, so the sound carried everywhere, but the flat emptiness made it really nice for everyone to move around.  And since it was just 45 minutes or the noise wasn’t too much of problem.

As the dj I sort of tried to guide the patrons into what dance moves we would do for each song.  “Ok, now we’re going to put on the robot song!  How would you dance if you were a robot?”  I am wondering if this is too limiting, or if it provides needed structure.  Will think about his.

I played everything from my iPad through the wireless speakers we had.  This is awesome and much easier to control than having to deal with a cd player.

I think I am going to have to do one again during our music-themed summer reading program.

Making Butter at Storytime!

Since we are doing the “Reading is Soooooo Delicious” theme for this summer, my library celebrated with a system-wide Fun Food Week.  Each branch chose a food-related program to highlight at their location.

My program was a bread storytime where we made our own butter!  I got the idea for this program because I remembered making it in preschool (kindergarten?  it was a long time ago…), and I thought it was so cool then.  Apparently, science still amazes now, because the program (that my coworker coined “Loafing Around”) was a hit with both kids and parents — some even wanted to go home and try making more butter.

And making it is really simple!

Make Your Own Butter

You need a jar with a lid that closes tightly and heavy whipping cream.
Jar and Cream

That’s it!

Pour the whipping cream into the jar.  Leave some room so the cream can move around. Of course, you can vary the amount depending on how much butter you want to make.
Butter7

Shake! Shake! Shake!
Butter8

After shaking for a little while, the cream will turn into whipped cream.  You won’t hear liquid sloshing around anymore.
Butter3 Butter2

Keep shaking more, and the mixture will look like it is turning back to liquid in your jar.  It’s actually becoming butter and buttermilk.  In the photo below, you can see the lump of butter in the center of the jar, and then buttermilk surrounding it.
Butter4

Pour off the buttermilk to separate it from the butter.  (At home I just poured it out of the jar, when I did the program at the library we dumped it out into a bucket covered with cheesecloth.  You can see that on the right.  Also, at the library, we scooped up the butter each child made and put it into a plastic take-out sauce container, and handed them a popsicle stick for spreading.)
Butter10 buttermilk

If you are making a lot of butter at home that you will want to enjoy for a while, rinse off the butter under cold water to get rid of the buttermilk — this will make the butter last longer.  At the library, since we were enjoying the butter right away and only made a small amount, we skipped this step.

Put your butter on bread, and enjoy! For the Loafing Around program we created sandwich baggies that had a small sample of various kinds of bread: tortilla, French bread, lavash, challah, Irish soda bread and pumpernickel.  Each kid received a baggie to go with the butter they made.
breads

TIPS IF YOU DO THIS AS A LIBRARY PROGRAM:

– WIDER MOUTH JARS WORK BETTER.
Jars like the one pictured with the cream in the first photo work better than narrow mouth jars (like the ones you see in the shaking photos).    It is easier to get the butter out from these, and it just seemed to work better overall.  (We got our jars from The Container Store.  The 4 oz ones worked best.)

– TEST THE JARS FIRST TO MAKE SURE THEY DON’T LEAK
Since we couldn’t get enough of the good 4oz jars, we used smaller 3 oz ones for the program, and they were not leak-proof.  To solve this problem, we just put the jar with the cream in it inside a sandwich baggie.  This helped keep our carpet clean and worked just fine.

– DON’T USE SPICE SHAKER INSERTS ON TOP OF THE JARS
Since we couldn’t find enough of the 4 oz jars, we went with 3 oz narrower jars that were meant for storing spices.  In addition to a twist on lid, these came with snap off inserts that had holes for shaking out spices.  I thought, “Oh this might be a great way to drain the buttermilk without having to take the butter out of the jar!”  BUT NO.  The cream didn’t like having the lid their during shaking, and the holes just ended up causing a problems instead of a solution.

– HAVE MORE THAN ONE BUTTERMILK DRAINING STATION
If you have all the children in the program start making butter at the same time, they will probably all be ready around the same time.  We had two draining stations to pour off the butter set up, and we probably could have used one more.

– HAVE SOMETHING TO PUT THE BUTTER IN SO KIDS CAN TAKE LEFTOVERS My coworker came up with the great idea to use take-out restaurant sauce containers with lids and they were perfect.  This way, we didn’t have to give away the more expensive jars to the kids, and we could save them to use at another program in the future.

– USE VOLUNTEERS TO HELP OUT
If I did this program again, I would get more people to help me out.  Volunteers could help with the draining of the buttermilk and putting the butter into the sauce containers.  They also would have been useful for clean-up afterwards.

– MAKE DIFFERENT FLAVORS WITH OLDER CHILDREN
If I was going to do this program with an older audience, I might add some different flavor elements that kids could use to make flavored butter: herbs like chives or dill, sugars, salt, etc.

But, even for doing it the first time around this was a really fun program, and it was a great success as well.  I would definitely do it again!

Family Storytime – Dr. Seuss

To celebrate Dr. Seuss’s Birthday on March 2, we held a special version of our preschool storytime honoring his works.  My supervisor and I worked on this program together, so we tagged-teamed on the storytime.

MOVEMENT: “Shake My Sillies Out” from More Singable Songs for the Very Young by Raffi

PROP READING:
We started off with a prop-filled presentation of:
GreenEggsandHambySeuss
Green Eggs and Ham.

I portrayed Sam-I-Am, and my supervisor was the friend unwilling to try the titular treat.  We had a table set up with all the props we needed for the story including:
GreenEggsandHamProps1 GreenEggsandHamProps2 GreenEggsandHamProps3 GreenEggsandHamProps13

Green Eggs and Ham (Color photo-copy laminated)
Here or There (Color photo-copy laminated, found via Google Image Search)
A House (made from Lego)
A Mouse (Puppet)
GreenEggsandHamProps4 GreenEggsandHamProps7 GreenEggsandHamProps6 GreenEggsandHamProps11
A Box
A Fox (he looks a little tired, I know, but it’s a fox from our puppet collection)
A Car
A Tree (Also from the library’s puppet collection)

This next row is a bit more… creative…
GreenEggsandHamProps5 GreenEggsandHamProps10 GreenEggsandHamProps8
A Train (train whistle, I made the noise each time the book said “train”)
Dark (a black piece of construction paper with the word “dark” on it)
The Rain (a squirt bottle filled with water, that I misted every time the word “rain” was said.  This got a good laugh, and was a great idea from my supervisor)
GreenEggsandHamProps14 GreenEggsandHamProps9
A Goat
A Boat

Since Sam-I-Am is the one who introduces the different props, I would hold up the item in question as I mentioned it.  Then, my supervisor read off the answers of where the green eggs and ham would not be enjoyed, I held the item in question up again so that the audience could say it aloud.  She also showed the illustrations of the book as well so those could be seen by the audience. 

FLANNELBOARD:
Colorful Eggs (No Ham)
ColorEggsFlannelboard1 ColorEggsFlannelboard2
I stole this brilliant idea from this post at Mel’s Desk.

I took her suggestion of making it into a game, so on one side the eggs are a nice and normal yellow.  On the other, wild colors! I started with all the yellow yolks up, then turned each one over at the appropriate time as I recited:

I-am-Sam.
Sam-I-am.
I do so like ____
eggs and ham.

(filling in the blank with the audience of the color of the egg).  From this activity I learned that my pink egg (second from the left on the top row) really looks like an orange egg from afar and not like the hot pink it looks up close.

BOOK:
OneFishTwoFishRedFishBlueFishbySeuss
One Fish Two Fish Red Fish Blue Fish by Dr. Seuss

My supervisor just read an except of this one, up until the “goodnight” part.  It worked really well shortened like that.

MOVEMENT: “If You’re Happy and You Know It – PS Version”
My supervisor does this one a little differently, so check out my A Capella Movements page for the PS version.

VIDEO:
SeussCelebrationDVD
“Zax” from Seuss Celebration: 9 Favorite Televised Classics

Many of the Seuss videos are 25 minutes long or so — “Zax” worked well for storytime since it was only 3 minutes or so.

TREATS:
What would a birthday celebration be without a sweet treat?  After the movie, we all sang “Happy Birthday” to Dr. Seuss, and then it was time to let them eat cake!
SeussParty1
(I forgot to take a photo of the cake before it was devoured!  But as you can see, at least we had a lot of interest!)

ATTENDANCE: 38 people

HOW IT WENT: I think this was a really fun unique storytime.  Other than joining in on storytimes as an intern, I’d never done a joint storytime before.  I think it went really well, and that we both were able to highlight the places where we shine in storytime to make it a success.  I think if I were going to do this program again, I might have a larger table on which to place the props — since Seuss changes the patter of the objects in Green Eggs and Ham that might make it easier to do.  Another Idea I had for that would just be to used laminated images for all the objects like I did for the green eggs and ham.  Then I could just have a stack put together and go through the stack in order as the items were mentioned.

How did you celebrate Dr. Seuss’s Birthday or Read Across America?

2013 Stuffed Animal Sleepover

Friday January 11 – Saturday January 12 my library held our second ever Stuffed Animal Sleepover, and it was so much fun!

We started off on Friday with the stuffed animals signing in with our teen volunteers (we required registration for this program to ensure we had enough materials to make a good take-away the next day.  It was limited to 25 participants).  We made sure we had all names spelled correctly (this would help later when putting together the memento from the day), name-tagged the stuffed animals, and had the children fill out a questionnaire so we could learn more about their stuffed friends.Stuffed Animal Sleepover 2013 Survey

Then it was time to begin storytime!  We didn’t put an age range on this program when we publicized it, since we figured the children’s ages didn’t matter much since we were focusing on the stuffed animal.  This meant we had children from 1 – 10 enrolled.  I was a bit worried about making storytime work for such a wide age range, but then a colleague said “Well, the storytime is for the stuffed animals, really” which made it much easier to focus while preparing.

P1110356
Stuffed Animal Sleepover Storytime

Song: Sing With Me (Nighttime Version)
(to tune of: “Here We Go ‘Round the Mulberry Bush”)
Come along and sing with me
Sing with me, sing with me.
Come along and sing with me,
So early in the evening.

Other verses:
Come along and clap with me…
Come along and stretch with me…
Come along and yawn with me…

Last verse:
Come along and listen with me
listen with me, listen with me.
Come along and listen with me
As we hear our next story.

Book:
Knuffle Bunny by Willems
Knuffle Bunny by Mo Willems

Movement: “Teddy Bear, Teddy Bear Turn Around”
Teddy Bear, Teddy Bear turn around
Teddy Bear, Teddy Bear touch the ground
Teddy Bear, Teddy Bear show your shoe
Teddy Bear, Teddy Bear that will do
Teddy Bear, Teddy Bear go upstairs
Teddy Bear, Teddy Bear say your prayers
Teddy Bear, Teddy Bear turn out the light
Teddy Bear, Teddy Bear say goodnight

Flannelboard:
Five in the Bed
5intheBedFlannel
There were five in the bed and the little one said,
“It’s crowded!  Roll over!”
So they all rolled over and one fell out,
There were four in the bed…

Continue counting down until…

There was one in the bed and the little one said,
“I’m lonely!”
So they all crawled back in
And went to sleep.

Bounce: Ride a Little Pony* (the children bounced their stuffed animals as if they they were toddlers)

Bounce: Dickery,Dickery Dare*

Book:
Tuck Me In by Hacohen
Tuck Me In! by Dean Hacohen

This book segued perfectly into the take-home craft I handed out, the Tuck-Me-In Teddy:
TuckMeInTeddyCraft2 TuckMeInTeddyCraft1

Then it was time to say goodbye to the stuffed animals, and for our work to begin!

My list of photos to take was really long — next year I have to remember to pare it down a bit!
Photos to Take Sleepover 2013

Here is a sampling of photos to give you an idea of what we did:
P1110377 P1110530 P1110526 P1110509 P1110497 P1110494 P1110484 P1110467 P1110466
P1110457 P1110446 P1110443 P1110440 P1110433 P1110431 P1110428 P1110426 P1110417 P1110408

After the photos were taken, I went home and worked on prepping the mementos the kids would get the next day.  When we did this back in August of 2012, we actually made photo books for each of the participants with the photos of the stuffed animals.  We went to a 24-hour pharmacy, printed out about 12 photos for each child (we had 23 participants total), then stuffed dollar photo albums with pictures and other assorted things.

This time around, I decided I wanted to attempt to streamline the process.  I would make photo collages using PowerPoint, then print those out on 8 1/2×11 sheets of photo paper. I bought document frames at the dollar store to put the photo collages in to make things a bit more special.  Then on the back, I taped an envelope to hold the extra accoutrements (like the questionnaire we had the kids fill out, the snowflake craft the animals made, and the award the animals won).  They turned out pretty nicely, but I have to say, I’m not sure that this streamlined things at all!

P1110559

The next morning, the kids came to pick up their stuffed animals.  This is the BEST part of doing a stuffed animal sleepover — seeing the kids reunited with their friends, and the delighted squeals and laughter as they look at what their animals did the night before.

P1110560

Since I couldn’t fit all the photos in the frame, we also had a slide show of all the photos that were taken.
P1110568
So fun to hear all the squeals of laughter, and a nice way to have all the participants share in the experience together.  We didn’t do this part the last time we did our sleepover, but I think I would include it from now on.  Also we added a web address on the children’s frames so they could go online and find the photos from the sleepover on the library site as well.  This was especially great for those who couldn’t stay the next day for the slide show.

All in all the sleepover was a great success – fun was had by both humans and stuffed animals alike!

I still would like to find a different way to create a memento for the kids to take home.  Something a little less labor intensive.

Have you done a stuffed animal sleepover?  How was yours?

Feeling Toasty!

On Friday, the library is presenting our second ever stuffed animal sleepover!  Right now I’m busy planning all the fun the animals, volunteers and I will have together.

Our first stuffed animal sleepover was during the summer, and I’m trying to take advantage of the difference in seasons to find some new activities for the animals.  One of the most beautiful aspects of our children’s room is the fireplace.   Designed for the library opening in 1927 by Pasadena sculptor Maud Daggett, it’s beautiful, with a mantel based on a famous children’s book.  Can you guess which?

Fireplace in Children's Room
Here are some hints – the sculpture features pirate ships, crocodiles and a young man “crowing”.

It’s Peter Pan!

Everyone always asks if we ever light the fireplace, which we don’t anymore.  But I thought it might make a fun gathering place for the stuffed animals on a cold winter’s night, and for that it definitely needed some light.  So, I created a fire:

Fire

Made from a box covered with construction paper, it’s a little ridiculous, but I think it brings a spark of something to the fireplace:

Fire in Fireplace

Hopefully the stuffed animals will enjoy it on Friday night!  And stay tuned for a post about all the sleepover shenanigans.